Apply from Singapore: Simple Steps to Get Started Quickly
Got a chance to study, work, or move abroad and you’re based in Singapore? It can feel like a maze, but you don’t need a PhD to figure it out. Below is a practical road‑map that walks you through what you need, where to look, and how to avoid the usual hiccups.
Why apply from Singapore?
Singapore’s strong passport, reliable internet, and clear government portals make the whole process smoother than many other countries. Whether you’re chasing a tech job in Bangalore, a scholarship in the US, or a tourist visa for Europe, the city‑state’s efficient services give you fast document access and quick courier options.
Step‑by‑step checklist
1. Define your goal. Are you after a job, a student visa, a permanent residency, or a short‑term travel permit? Each goal has its own set of forms, fees, and timelines.
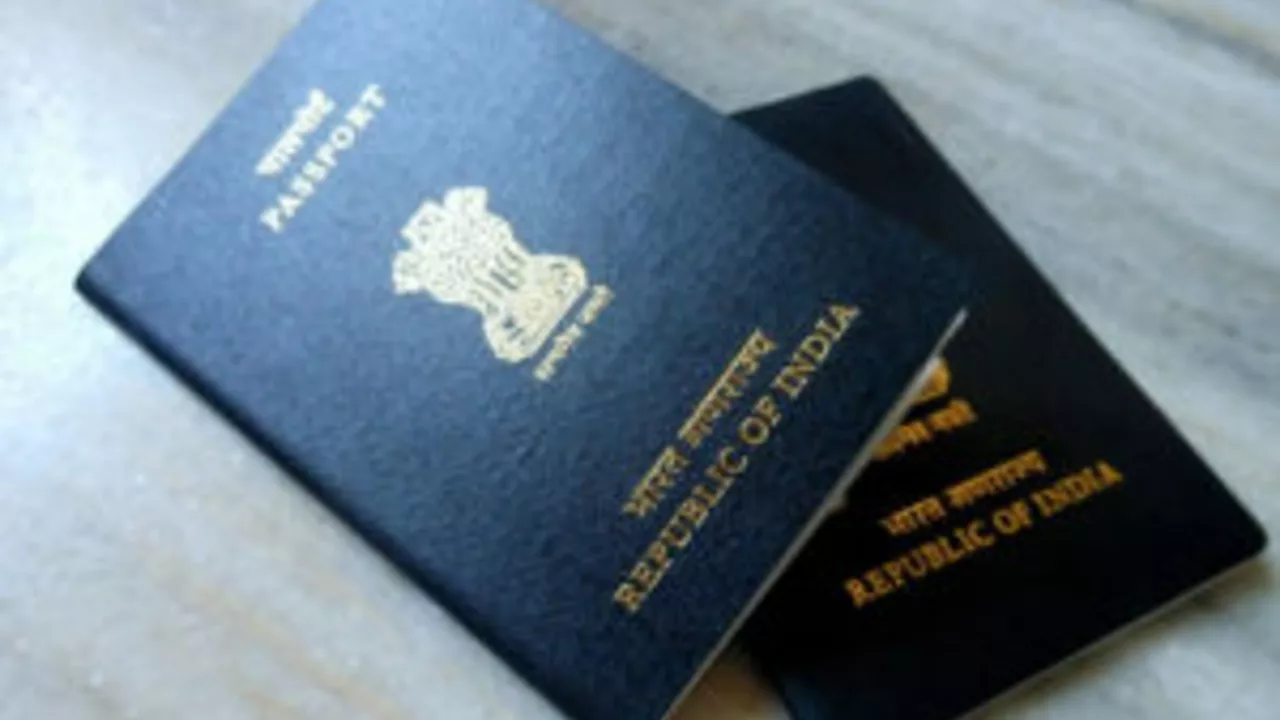
2. Gather core documents. Most applications need a passport copy (valid for at least six months), a recent photo, proof of address (utility bill or bank statement), and a CV or academic transcript. Keep digital copies ready – a PDF under 2 MB uploads faster.
3. Check the official portal. For visas, use the embassy’s e‑visa system; for jobs, many Indian tech firms use Naukri or LinkedIn. Always start at the government or company’s own website to avoid scams.
4. Pay the fee online. Singapore banks support PayNow, credit cards, and e‑wallets. Save the receipt; you’ll need the transaction ID for any follow‑up.
5. Submit the application. Fill in the form carefully – copy‑paste where you can, but double‑check dates and spellings. A tiny typo can delay processing by weeks.
6. Track your status. Most portals give a tracking number. Save it in a note app and set a reminder to check every few days.
7. Prepare for the interview (if needed). For work permits and many student visas, a short interview is standard. Have a clear answer for why you chose the destination, what you plan to study or do, and how you’ll support yourself.
8. Collect the approval. Some visas are electronic (e‑visa) and you can print them. Others require a physical sticker or card – courier it to your home address or collect it at the embassy.
9. Arrange travel. Once approved, book your flight. Singapore’s Changi Airport offers direct links to most major hubs, so you can often find a cheap fare within a week of approval.
10. Keep everything handy. Store PDFs of the visa, passport scan, and travel itinerary on your phone. Having them offline saves time at immigration.
These ten steps cover the most common scenarios. If you’re applying for a niche program or a specialized work permit, add any extra paperwork the authority lists – it’s usually just a few extra certificates or a health check.
One last tip: join local Facebook groups or Reddit threads for expats in your target country. Real‑world advice from folks who’ve just gone through the process can save you days of confusion.
Now you have a clear, actionable plan. Grab your passport, fire up the official site, and check those boxes one by one. Applying from Singapore doesn’t have to be stressful – with the right checklist, you’ll be on your way in no time.